URL: https://it.desy.de/e5/e310913/e324533/index_eng.html
Breadcrumb Navigation
Zimbra
This page displays an overview about the calendar section of the Zimbra Webinterface
1. Create a new Appointment
To create a new appointment click on the tab "Calendar" (1) and then directly on "New Appointment" (2).
2. Fill out Options in Appointment Dialogue
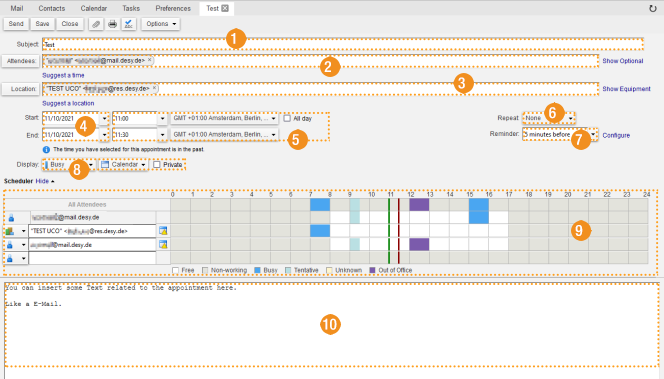
The following image depicts an overview of the individual options whose functionality is explained below.
-
Subject
Insert a name for the appointment that you want to create. This name will be used as the subject for all emails that will be sent to the attendees as a reminder and is also used as the name of the calendar entry. -
Attendees
Insert the email adresses of all attendees who should receive an invitation to the appointment. Whether the calendar entry will be inserted into their calendar right away or just after accepting the invite is defined by how the attendees configured their settings. -
Location
You can choose a location (real or virtual) where all attendees are going to meet during the specified appointment. This should be done by using a resource (an email adress that represents a place), alternatively you can insert any text. -
Day
Choose the first and last day of the appointment. This can be easily done by clicking on the arrow to the right and choosing the specific date (see here). -
Time Period
Choose the time at which the appointment begins and the time at which it ends. The time of the beginning will be visualized as a green stripe and the ending time as a red stripe (in case the attendees are located in different timezones you should pick UTC while defining the timepoint). Instead of using a timespan it is also possible to select "All day" to use the entire day for the appointment. -
Repeat
An appointment is created as a nonrecurring appointment by default. This can be changed by selecting an option different to "None". In addition the option "Custom" also allows automatic termination. -
Reminder
Related to the ongoing appointment Zimbra will show a message to every attendee some time before the start of the event. How far in advance the message will be shown can be defined using a list that will drop down by clicking on the arrow to the right of the text field (the message will only pop up if Zimbra is opened in a Browser and not in external programs). -
Display
These settings consist of 3 options.
The 1st option defines the kind of the attendees' availability (including the author's) that is seen by others during the appointment (e.g. if "busy" is chosen, all attendees are marked as "busy" while the appointment is ongoing, so users who plan an appointment can see this status).
The 2nd option defines the target calendar where the appointment will be added (from said calendar the appointment will be shared with other users).
The 3rd option sets an appointment to "private". By using this option the contents of the appointment will only be visible to attendees in case the appointment is added to a shared calendar (by default all users of a shared calendar can see the appointment's content even if the user is not an attendee.) -
Scheduler
Lists all attendees and optionally the location with its timetable ("busy", free, etc...) and the starting (green) and ending (red) point of the appointment is shown. -
Message Field
Here you can, as in an email, write a text to the attendees.
3. Complete the Appointment Creation

An appointment can be sent or saved as soon as an attendee has been added, else the appointment can only be saved. To note here, if an appointment is saved it will not be made public, so it is similar to a draft of an email.
4. Calendar Views
The following images show the different views for the Zimbra calendar.
- Additional Help Pages Articles that describe the additional settings of the Zimbra Calendar are listed here.


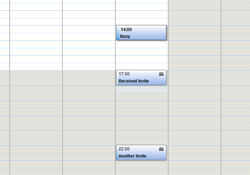
 Weekly view
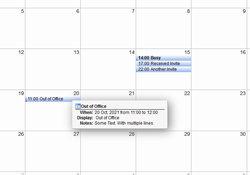
 Monthly view
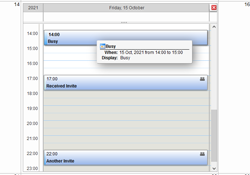
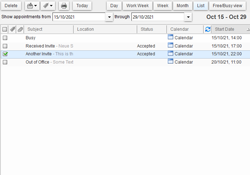
 List view
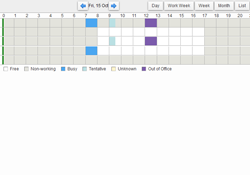
 Free/Busy view