
URL: https://it.desy.de/services/druck/macos/add_printer/index_eng.html
.
Breadcrumb Navigation
macOS - add printer
Requirement: DESY intranet or Cisco VPN. eduVPN is not supported.
Detailed documentation in the DESY XWiki
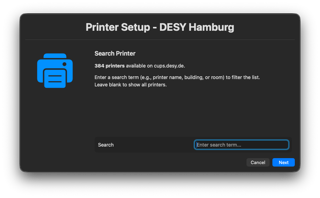
Printer Setup – DESY
The tool Printer Setup – DESY adds DESY network printers to your Mac automatically. It fetches all available printers live from the DESY print server and installs your selection — no admin rights required.
How it works
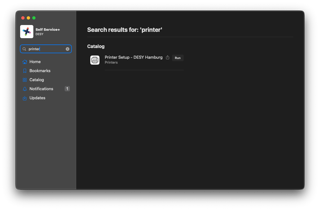
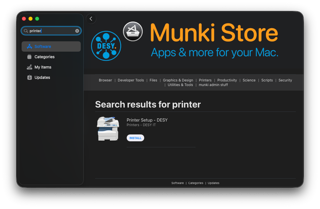
- Open Self Service (Jamf Pro, more details) or the Munki Store
- Search for Printer Setup – DESY and launch it
- Search for your printer (name, building, or room number)
- Select your printer and click Install
Launch directly
Is this a DESY-managed Mac with Jamf Pro? Launch the tool directly via this Self Service link:
Alternative: macOS Terminal
Printers can also be added manually via the Terminal. You will need the exact printer name and admin rights.
How it works
- Look up your printer name at printinfo.desy.de
- Open the Terminal (Applications → Utilities → Terminal)
-
Enter the following command — replace
hasps47with your printer name (in both places):sudo lpadmin -p hasps47 -v "ipps://cups.desy.de/printers/hasps47" -E -m everywhere
- Enter your macOS password and confirm
Screenshots
Printer Setup – DESY
")
")
")