
URL: https://it.desy.de/services/storage_services/desy_sync__share/configuration_of_your_nextcloud_desktop_client_for_desycloud/ubuntu/index_eng.html
.
Breadcrumb Navigation
Nextcloud Client on Ubuntu
This web page describes how you can sync your data from DESY sync & share to your local device. The fact that the data is local means that there must be sufficient storage space available on your desktop or laptop.
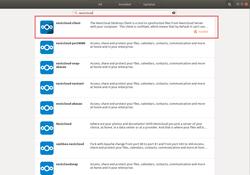
Setting up the Client
|
")
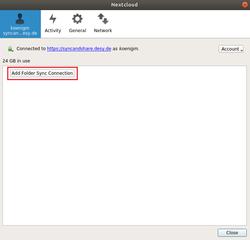
Figure 1
|
")
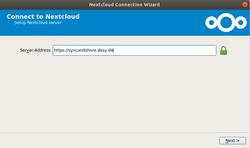
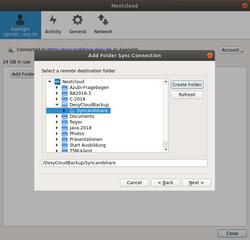
Figure 2
|
")
Figure 2
")
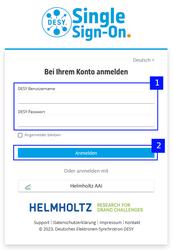
Figure 3
|
")
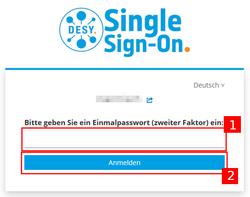
Figure 4
|
")
Figure 5
|
Nextcloud client during system start-up
It is recommended to start the Client at every system start, this is already set by default. If you do not want this, open the Client and go to the "General" category and deactivate the check mark at "Start on system startup".